How to create a Nuget Package of your .NET code and host it in a private Azure DevOps Feed
In this tutorial we are going to see how to set up your .NET code as a Nuget Package and host this package on an private Azure DevOps Feed. You can then use the Package on other .NET projects.
Create a new .NET Project in Visual Studio
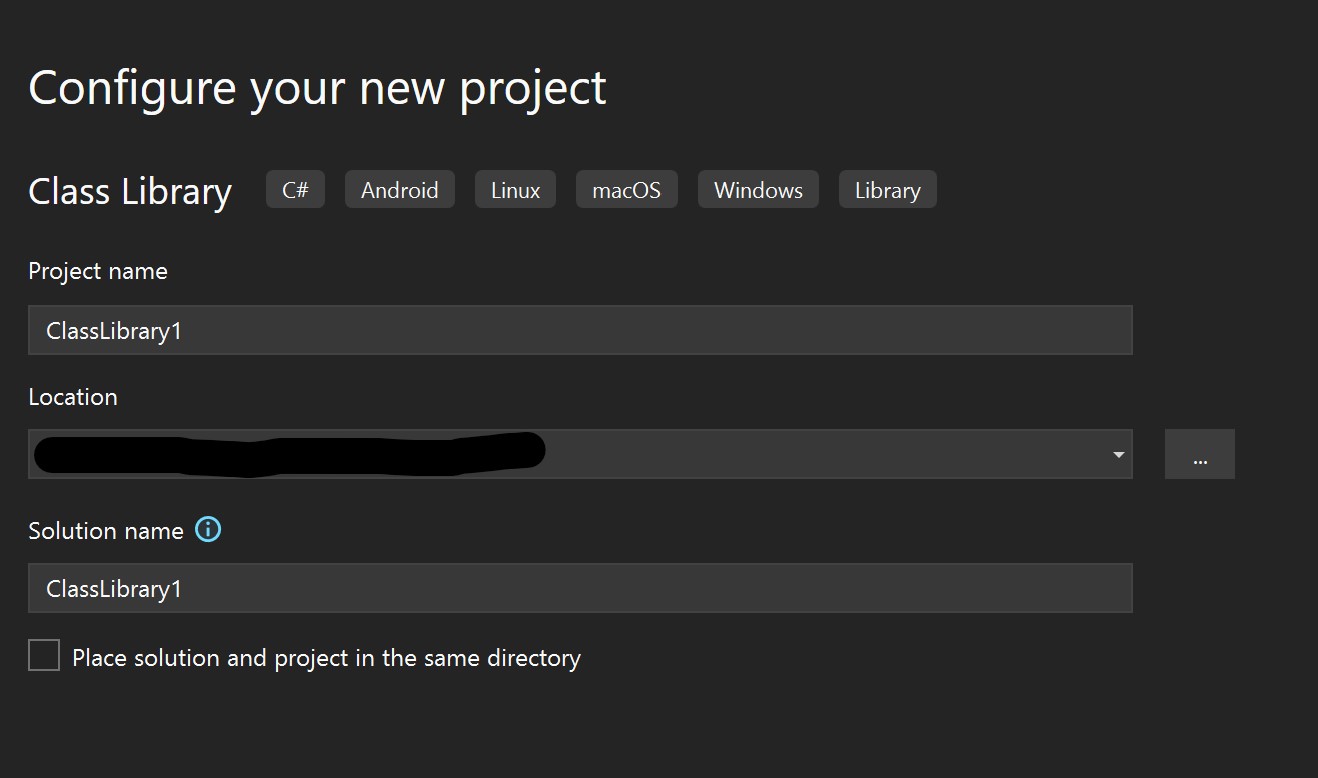
We start be creating a new .NET 6.0 Class Library in Visual Studio.
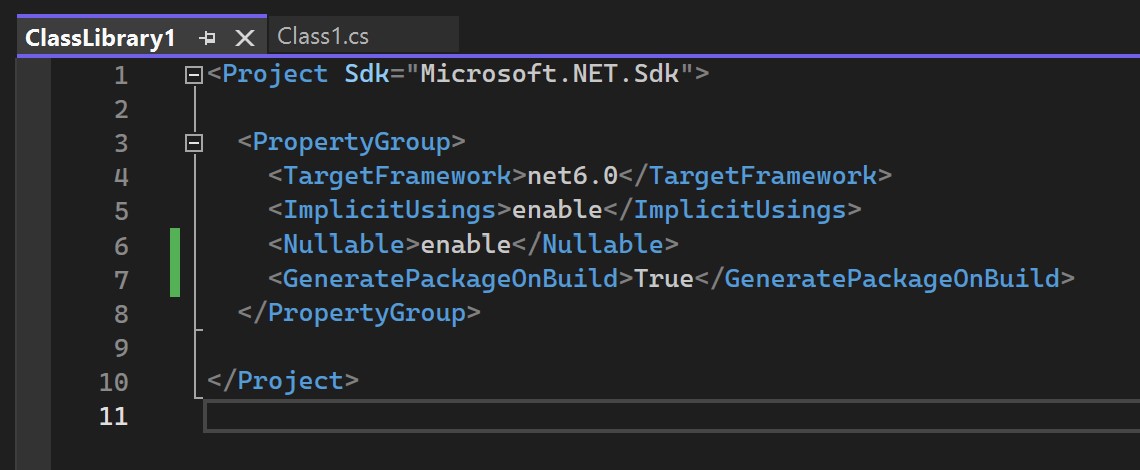
We double click on the csproj file of the new project and we add the <GeneratePackageOnBuild>True</GeneratePackageOnBuild> line inside the PropertyGroup area. This will inform the pipeline we will create later that this project should be packed as a Nuget Package.
The GeneratePackageOnBuild property is optional, if you have only one project with functionality in your solution, since Nuget can identify which other projects are of type test and does not create a package for them.
We create a new Git Repository for our code by right-clicking on the solution and selecting Create Git Repository. We choose Azure DevOps, we choose the online Project that will host the Repository and we click on the Create and Push button.

Create a new Feed in Azure DevOps
We are now moving to Azure DevOps and we create a new Feed under the Artifacts menu-option:

We give a name to our new Feed and since we do not want it to include public packages from nuget.org we unselect this option.
Create a new Pipeline in Azure DevOps
We now want to wire the Feed we just created to a new Pipeline which is going to automatically run every time we are checking in code to our Git Repository. We navigate to the Pipelines menu-option and create a new Pipeline:
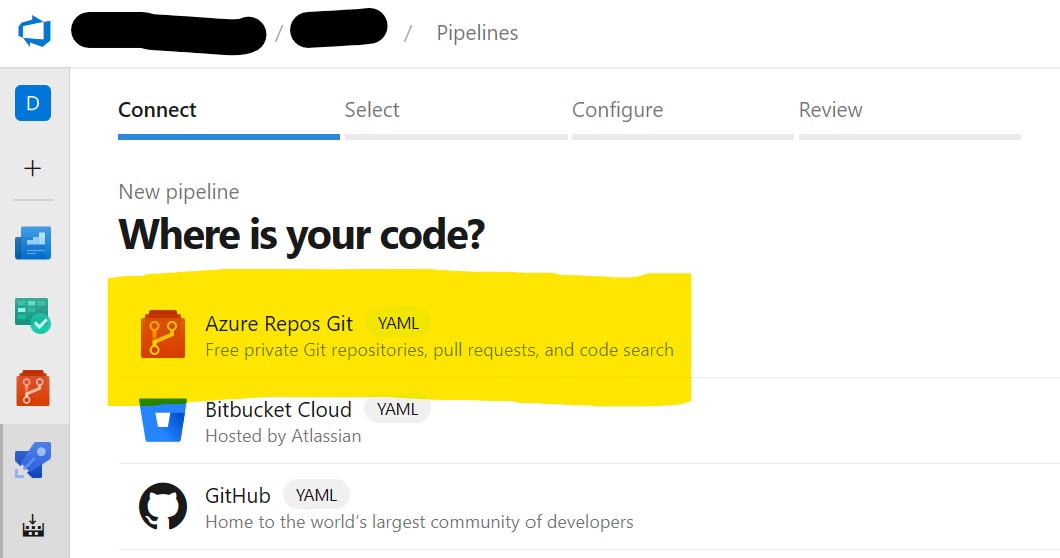
We are choosing Azure Repos Git, then we choose the new Repository (in our case ClassLibrary1), then we pick the type of the Pipeline which is ASP.NET and on the final step Azure DevOps provides us with default YAML code for the new pipeline. We click on Save.
We enter the Pipeline once again and we click on Edit. We are searching for Nuget and click on the following option
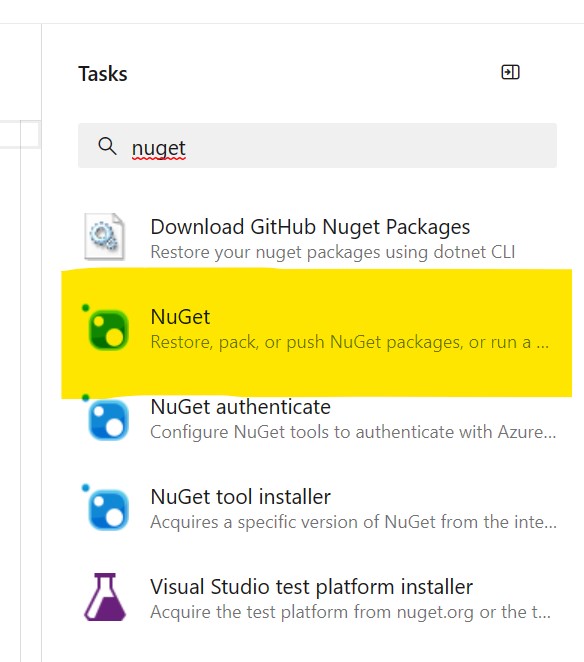
Our Yaml code contains already the restore action. We want the pack and a push actions. We first add the pack action and then for the push action we are selecting the newly created Feed:
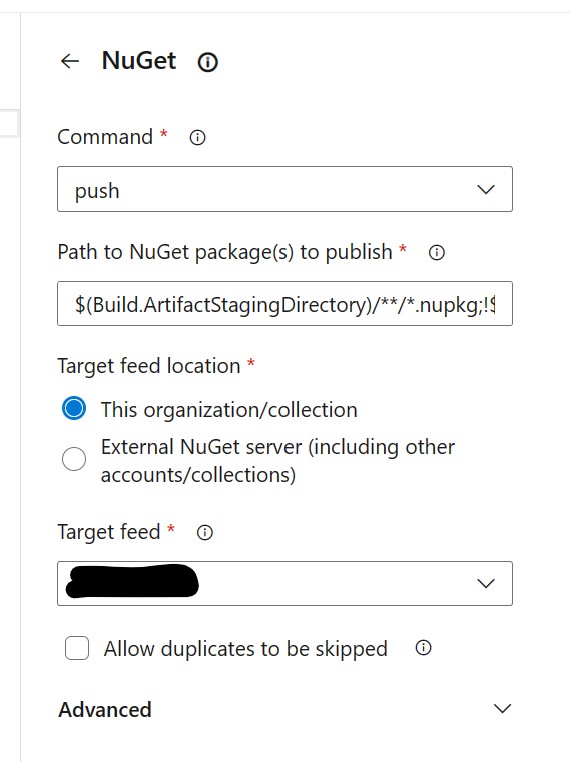
As you see in the edited Yaml code, the publishVstsFeed property contains the GUIDs to our Feed. Do not share these Guids to others outside of your organization.
Our final Yaml code will look like this (with a small change in the dotnet build task):
# ASP.NET
# Build and test ASP.NET projects.
# Add steps that publish symbols, save build artifacts, deploy, and more:
# https://docs.microsoft.com/azure/devops/pipelines/apps/aspnet/build-aspnet-4

trigger:
- master

pool:
  vmImage: 'windows-latest'

variables:
  solution: '**/*.sln'
  buildPlatform: 'Any CPU'
  buildConfiguration: 'Release'

steps:
- task: NuGetToolInstaller@1

- task: NuGetCommand@2
  displayName: Restore Nuget packages
  inputs:
    command: 'restore'
    restoreSolution: '$(solution)'

- task: DotNetCoreCLI@2
  displayName: 'dotnet build'
  inputs:
    command: 'build'
    arguments: '--configuration $(buildConfiguration)'
    projects: '**/*.csproj'

- task: DotNetCoreCLI@2
  displayName: "dotnet pack"
  inputs:
    command: 'pack'
    arguments: '--configuration $(buildConfiguration)'
    packagesToPack: '**/*.csproj'
    nobuild: true
    versioningScheme: 'off'

- task: NuGetCommand@2
  displayName: 'nuget push'
  inputs:
    command: 'push'
    packagesToPush: '$(Build.ArtifactStagingDirectory)/**/*.nupkg;!$(Build.ArtifactStagingDirectory)/**/*.symbols.nupkg'
    nuGetFeedType: 'internal'
    publishVstsFeed: 'XXX'
Go ahead and run the Pipeline. It will create a new Nuget Package which will be hosted in the newly created Feed under Artifacts.
Wire the Azure DevOps Feed to Visual Studio
The final step we want to make is to add the new Feed and its Nuget Packages as an option in Visual Studio. We return back to Visual Studio and under Debug -> Options we are adding a new Feed.
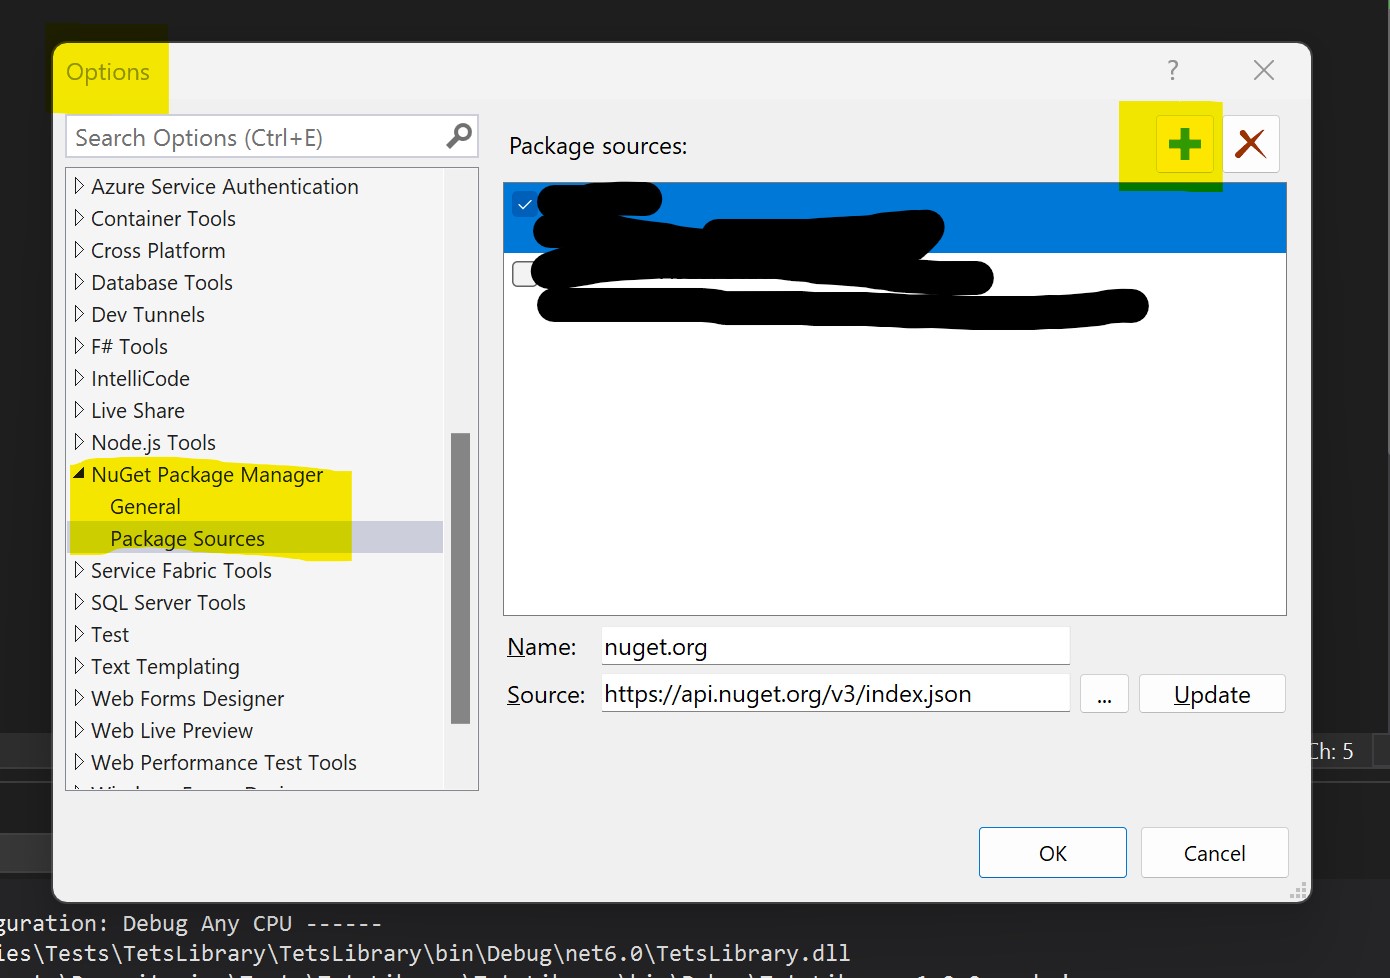
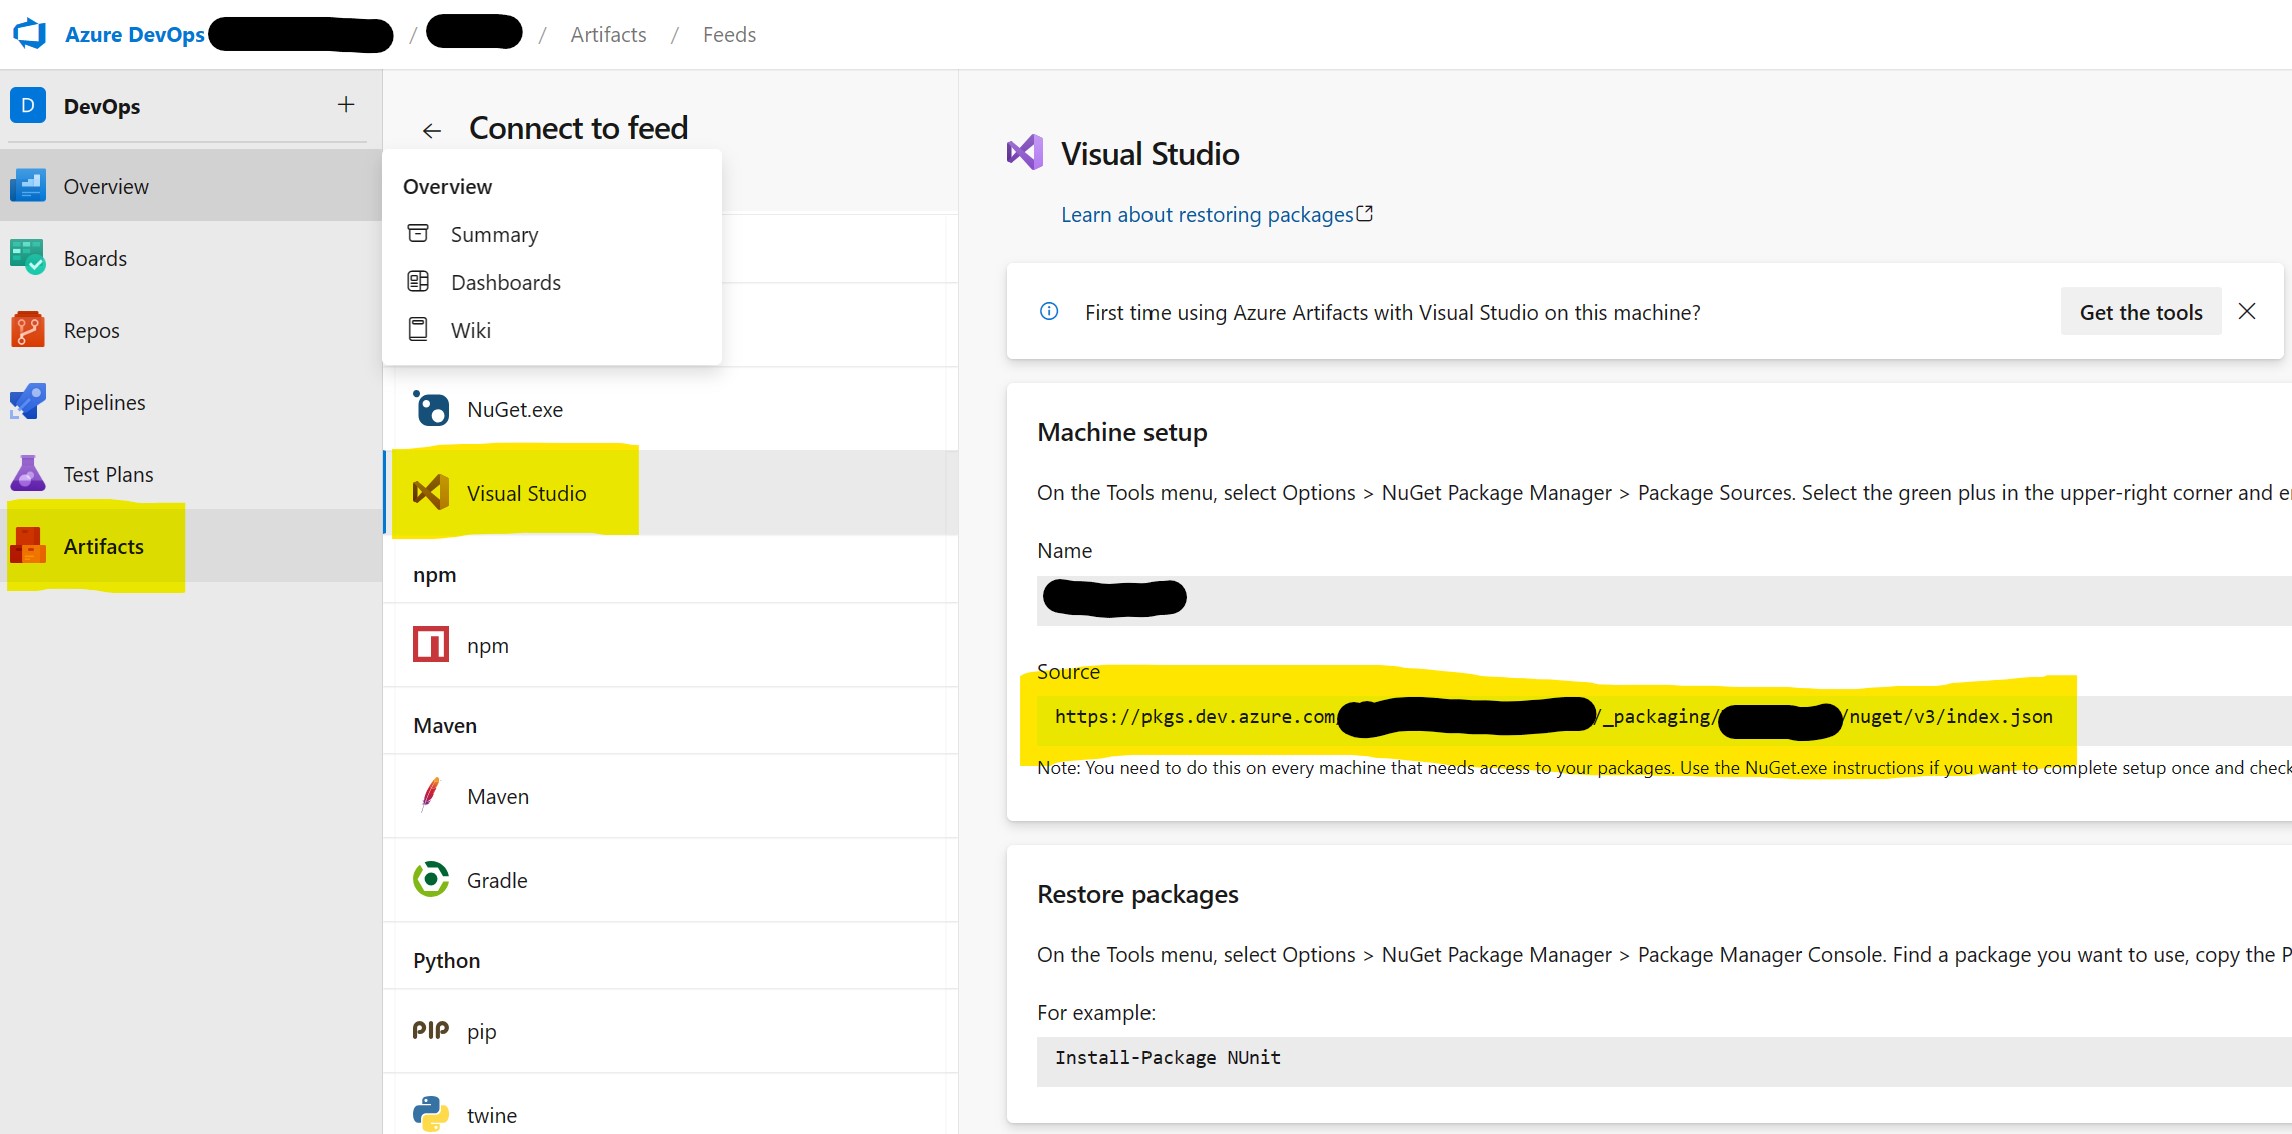
You can find the Source URL in Azure DevOps under Artifacts -> Select the Feed you want -> Click on the Connect to Feed button and then select the Visual Studio option:
An alternative to Azure DevOps Nuget Artifacts
There might be the case that you do not want to host your Nuget packages on the servers of Microsoft and access them via Azure DevOps. As an alternative you can use this nuget package to run a Nuget server locally and host their the packages of your company. You can find more information about installing, uploading and deleted Nuget packages on the local server on the official Microsoft documentation
However, the previous option runs only as a .NET Framework project you could also check Baget which is a lightweight Nuget server that runs as a .NET Core application.
Summary
I hope this article will help you set up a part of your CI/CD process. From here there are many steps that can be made:
- Creating feature branches for merging code into Master
- Defining with Pipeline-Variables the version of the newly created package
- Running the unit-tests with your Pipeline
- etc.
We are going to cover these topics on a future article.