Six simple steps to install the pygment syntax highlighter in a Jekyll blog that uses bootstrap.
Highlighting your code-examples in your blog makes your articles simpler to read. When using Jekyll the “default” option for highlighting code is provided from the pygments plugin.
Your have to do the following steps in Windows machines, if you want to use it in your blog:
-
Install python in your computer, if you do not already have done it.
-
Start a command prompt and install the pygments ruby gem by using the following command: gem install pygments.rb
-
In the config.yml file of your blog add the following line: highlighter: pygments and add in the same file add in the gems list the word pygments: gems: […, pygments]
-
Now you are ready to use the highlighter by wrapping code inside the following lines:
```javascript
    // code
where *javascript* is the language you want to highlight and ** is the flag for showing the line numbers together with the code.
- You now can style the highlighted code, so that the code is highlighted as it was shown from an IDE. You can [download here](https://raw.githubusercontent.com/mojombo/tpw/master/css/syntax.css){:target="_blank"} a .css file that does exactly this syntax highlighting you see in well-known IDEs.
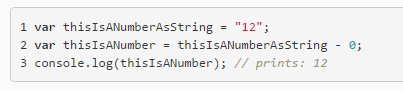
- If you use bootstrap for styling your website, your code is going to look like this:
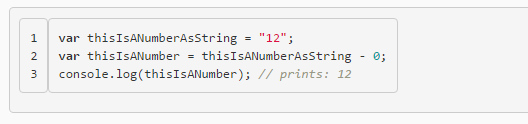
So if you want to remove the extra border, then add the following CSS rule in your custom CSS-file:
```css
.gutter pre, .code pre {
border: none;
}
now your highlighted code looks like this: