Call your .NET Core Api from your .NET MVC Application with Swagger and the HttpClientFactory class
The scenario of calling your API from another part of your application is widely needed. This article explains how to call a .NET Core API from your UI, which in this case is a .NET Core MVC application. We’ll create a client for our API methods using Swagger, make it available via a NuGet package to the MVC application, and call the API with the help of the IHttpClientFactory.
Create a new .NET Web API Project in Visual Studio
We start be creating a new .NET 7.0 Web API Project in Visual Studio.
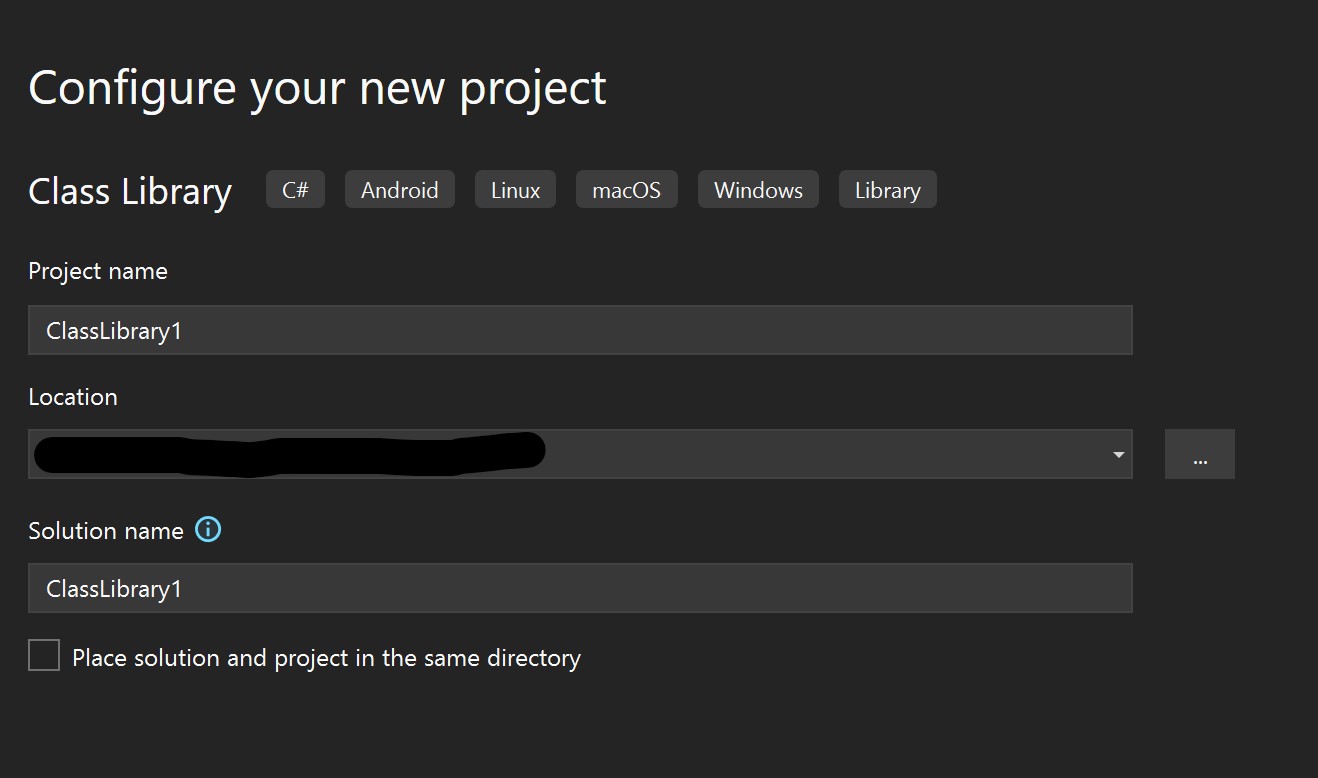
Make sure to check the Enable OpenAPI support option, which adds Swagger support. Swagger is a tool that helps document, design, and test APIs by generating interactive documentation.
For this tutorial, we will use the default controllers created by the template. Our focus is on wiring two applications together rather than building complex API logic.
Create the OpenAPI aka. Swagger client in the Web API Project
To generate a Swagger client for the API:
-
Install the
NSwagNuGet package in your Web API project.dotnet add package NSwag.AspNetCore -
Configure Swagger middleware in the
Program.csfile:app.UseSwagger(); app.UseSwaggerUI(); -
Generate the client code using the Swagger URL of your Web API. You can use the NSwag Studio or CLI to generate a strongly-typed client.
This client will be later packaged and added to your MVC application.
Create a new .NET Web App Project in Visual Studio
For this example, create a Web App Project with the Model-View-Controller (MVC) template. This template provides more code scaffolding than the simple Web App and allows us to quickly integrate and test our API client.
Update AppSettings with API Information
In the appsettings.Development.json file of the Web App Project (expand the appsettings.json file to find it), add the following configuration to specify the URI of your Web API:
"ApiService": {
    "Uri": "https://localhost:5021/",
    "ForecastPrefix": "api/forecast"
}
This allows flexibility in managing environments by using different appsettings.XXX.json files, such as appsettings.Integration.json or appsettings.Production.json. You can use these files to provide unique configurations for each environment.
Add the IHttpClientFactory logic to the Web App Project
To integrate the API client with the MVC project, use IHttpClientFactory for efficient management of HTTP requests.
Register the HTTP client in the Program.cs file:
builder.Services.AddHttpClient("ApiService", client =>
{
    client.BaseAddress = new Uri(builder.Configuration["ApiService:Uri"]);
});
Use dependency injection to inject the IHttpClientFactory into your controllers:
public class HomeController : Controller
{
    private readonly IHttpClientFactory _httpClientFactory;

    public HomeController(IHttpClientFactory httpClientFactory)
    {
        _httpClientFactory = httpClientFactory;
    }

    public async Task<IActionResult> GetForecast()
    {
        var client = _httpClientFactory.CreateClient("ApiService");
        var response = await client.GetAsync("api/forecast");
        var data = await response.Content.ReadAsStringAsync();

        // Deserialize and process data as needed
        return View(data);
    }
}
Summary
This article provided a foundation for connecting your .NET Core API to an MVC application. Here’s a quick recap of the steps:
- Set up a .NET Web API with Swagger support.
- Generate a Swagger client for your API.
- Configure the API URI in the MVC application’s
appsettings.json. - Use
IHttpClientFactoryto call the API from the MVC application.