Implement a static Vue app and deploy it on Azure using CI/CD. Part 1, Continuous Integration
While I have some extra free time because of the Corona virus outbreak, I decided to experiment with Vue and build a small static HTML Hello-World application for getting to know the framework better. The website contains no backend code.
The article focuses on how to automate the Build and Deploy process of our small application. I will try to clarify the steps needed till our static website is visible through an Azure URL.
In this article I will skip the Vue logic of my app and focus solely on the DevOps tasks that have to be made in Azure DevOps. Our static website will then be deployed on an Azure Storage Container. The article focuses on Windows users.
We will build our demo app with the help of Vue-CLI tooling.
-
Open a CMD on a newly created folder. Type: code . This will open a new Visual Studio Code window for the new folder.
-
The following step requires that you already have Node.js installed on your development machine.
-
Open the PowerShell Terminal of Visual Studio Code using Ctrl+Shift+¨ and install Vue-CLI: npm install -g @vue/cli Now you have access to the vue command. More information about vue-cli here.
-
Create a new Vue project with: vue create hello-world
-
Select the default setup for development and let the installing finish.

A new folder hello-world is created inside your project folder and all the npm dependencies of our app our installed in the node_modules folder. The .gitignore file already contains an ignore for this folder. The folder is already a local Git Repository.
-
Navigate with cd hello-world inside the new folder and type the npm run build command. This will create a new dist folder with the “ready-for-production”-content of your website (index.html page, JS & CSS files, images, etc.)
-
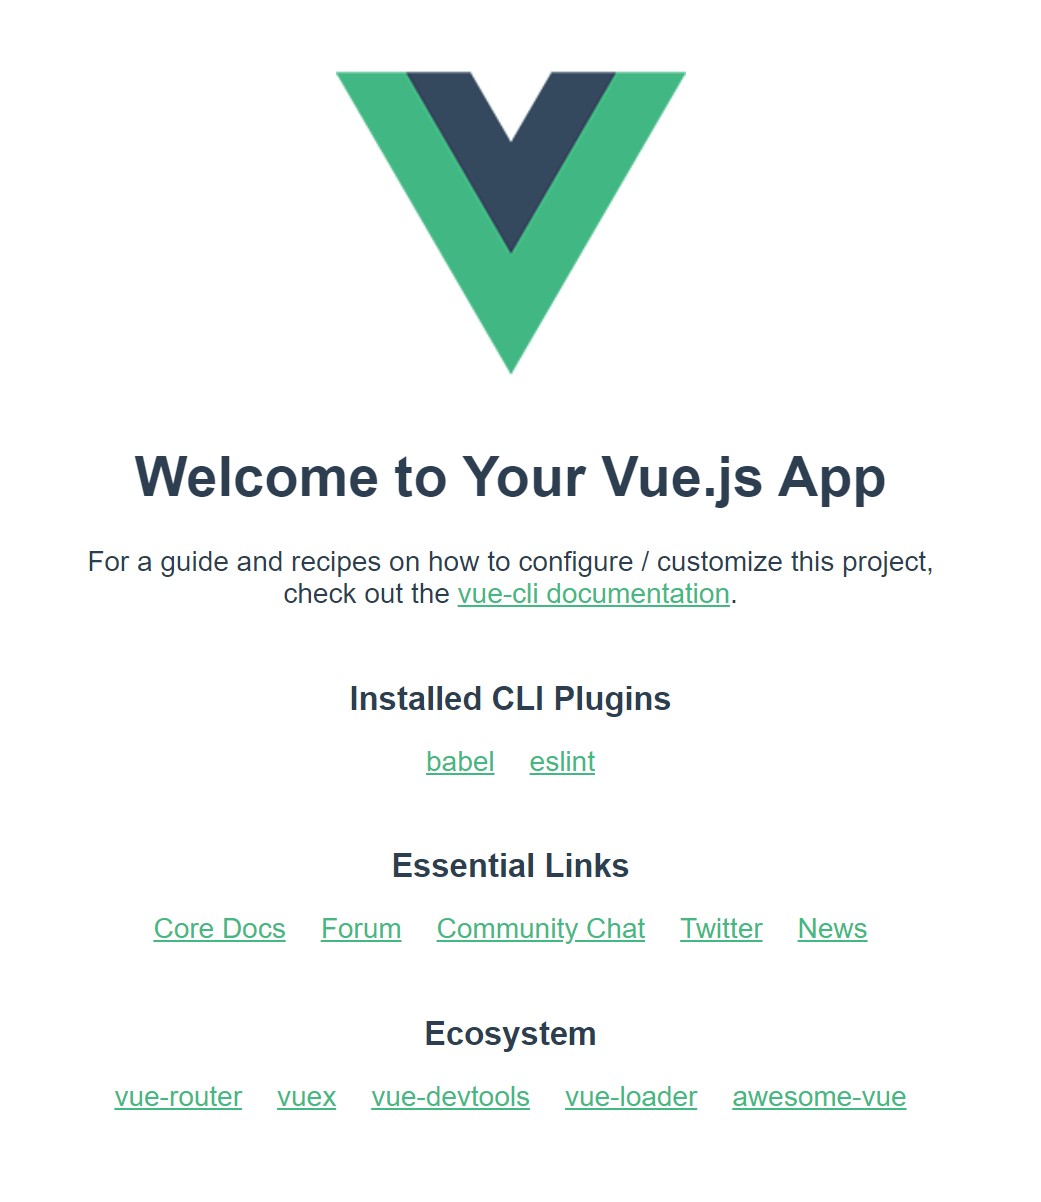
Run the npm run serve command. This command will start a mini-server on your computer and from now on, while the server runs, every change you do in a file inside the app will trigger F5 on your browser. Navigate to http://localhost:8080/ (check your Terminal for the exact port) on your browser:
-
Login in to your Azure DevOps account and create a new Repository in one of your Projects.

-
In Terminal run the git add –all command and then the git commit -m “initial commit” to commit the files in your local Git repository
-
Run the git remote add origin THE_LINK_TO_YOUR_AZURE_DEVOPS_REPOSITORY and then git push -u origin –all commands to connect the local with the remote repository and push the code online.
-
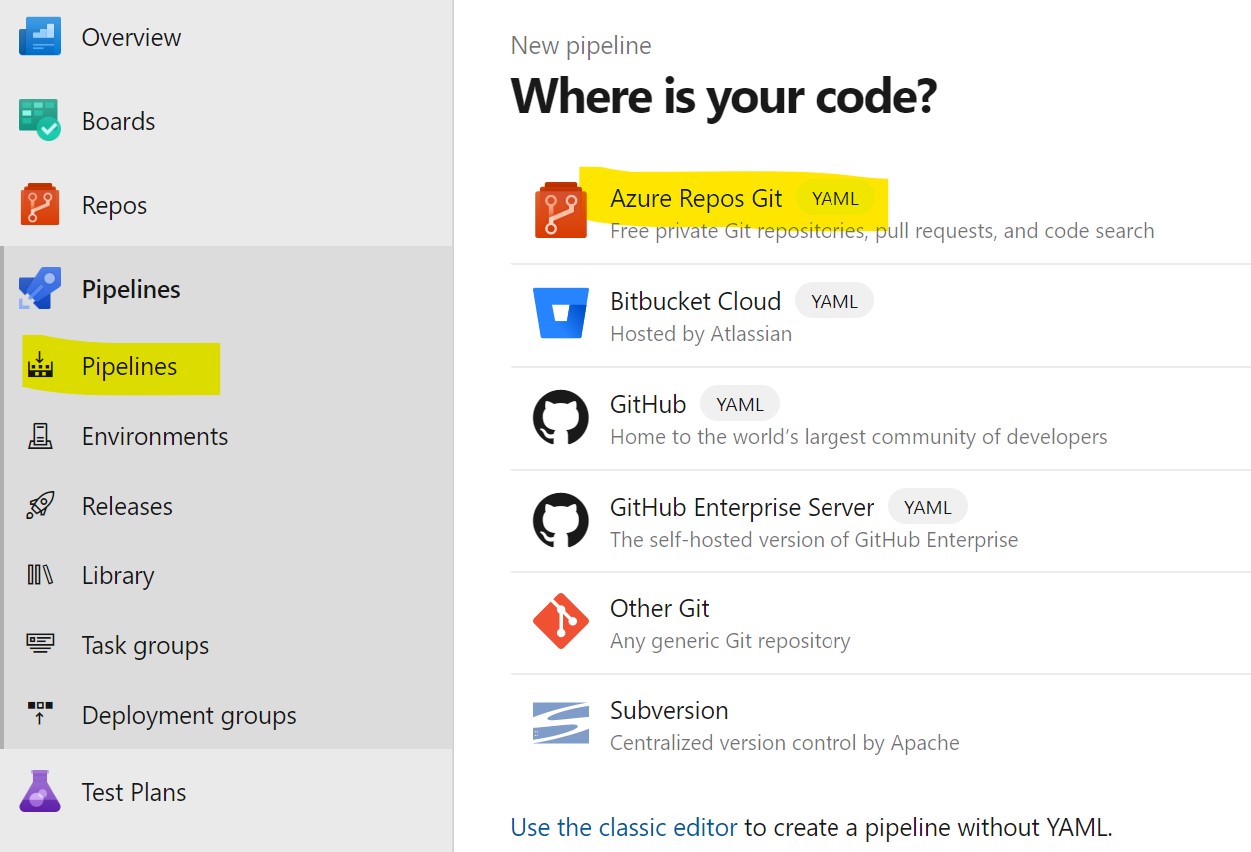
Return back to Azure DevOps and create a new Pipeline:

-
Select the Azure Repos Git option, then the newly created Repository
-
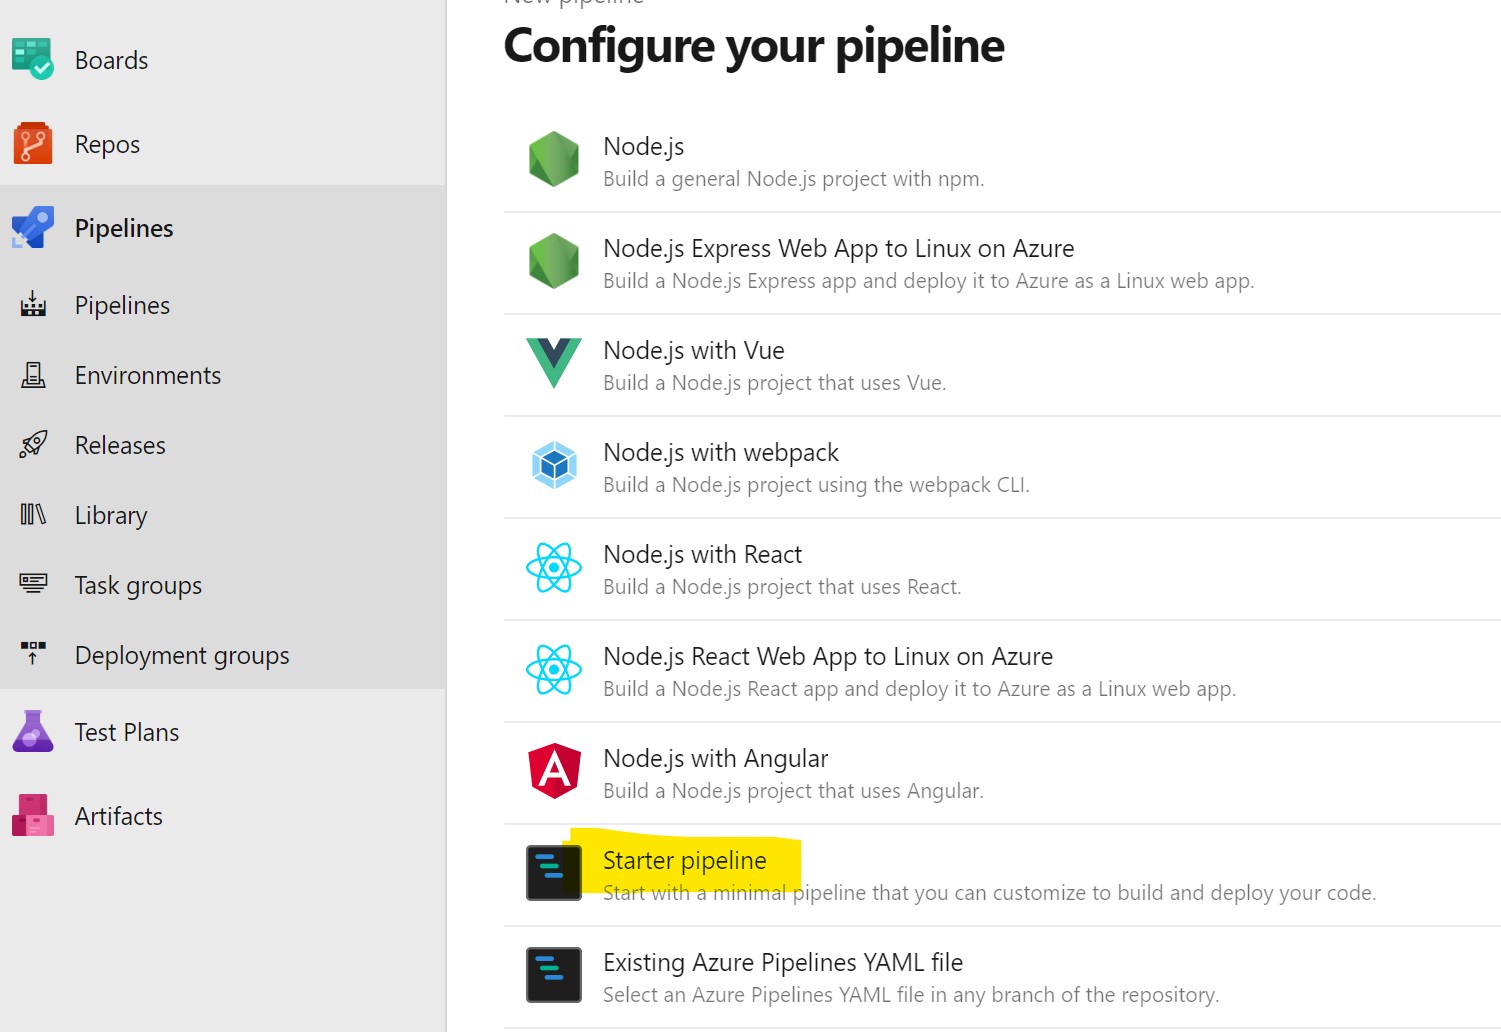
Select the Starter pipeline:
-
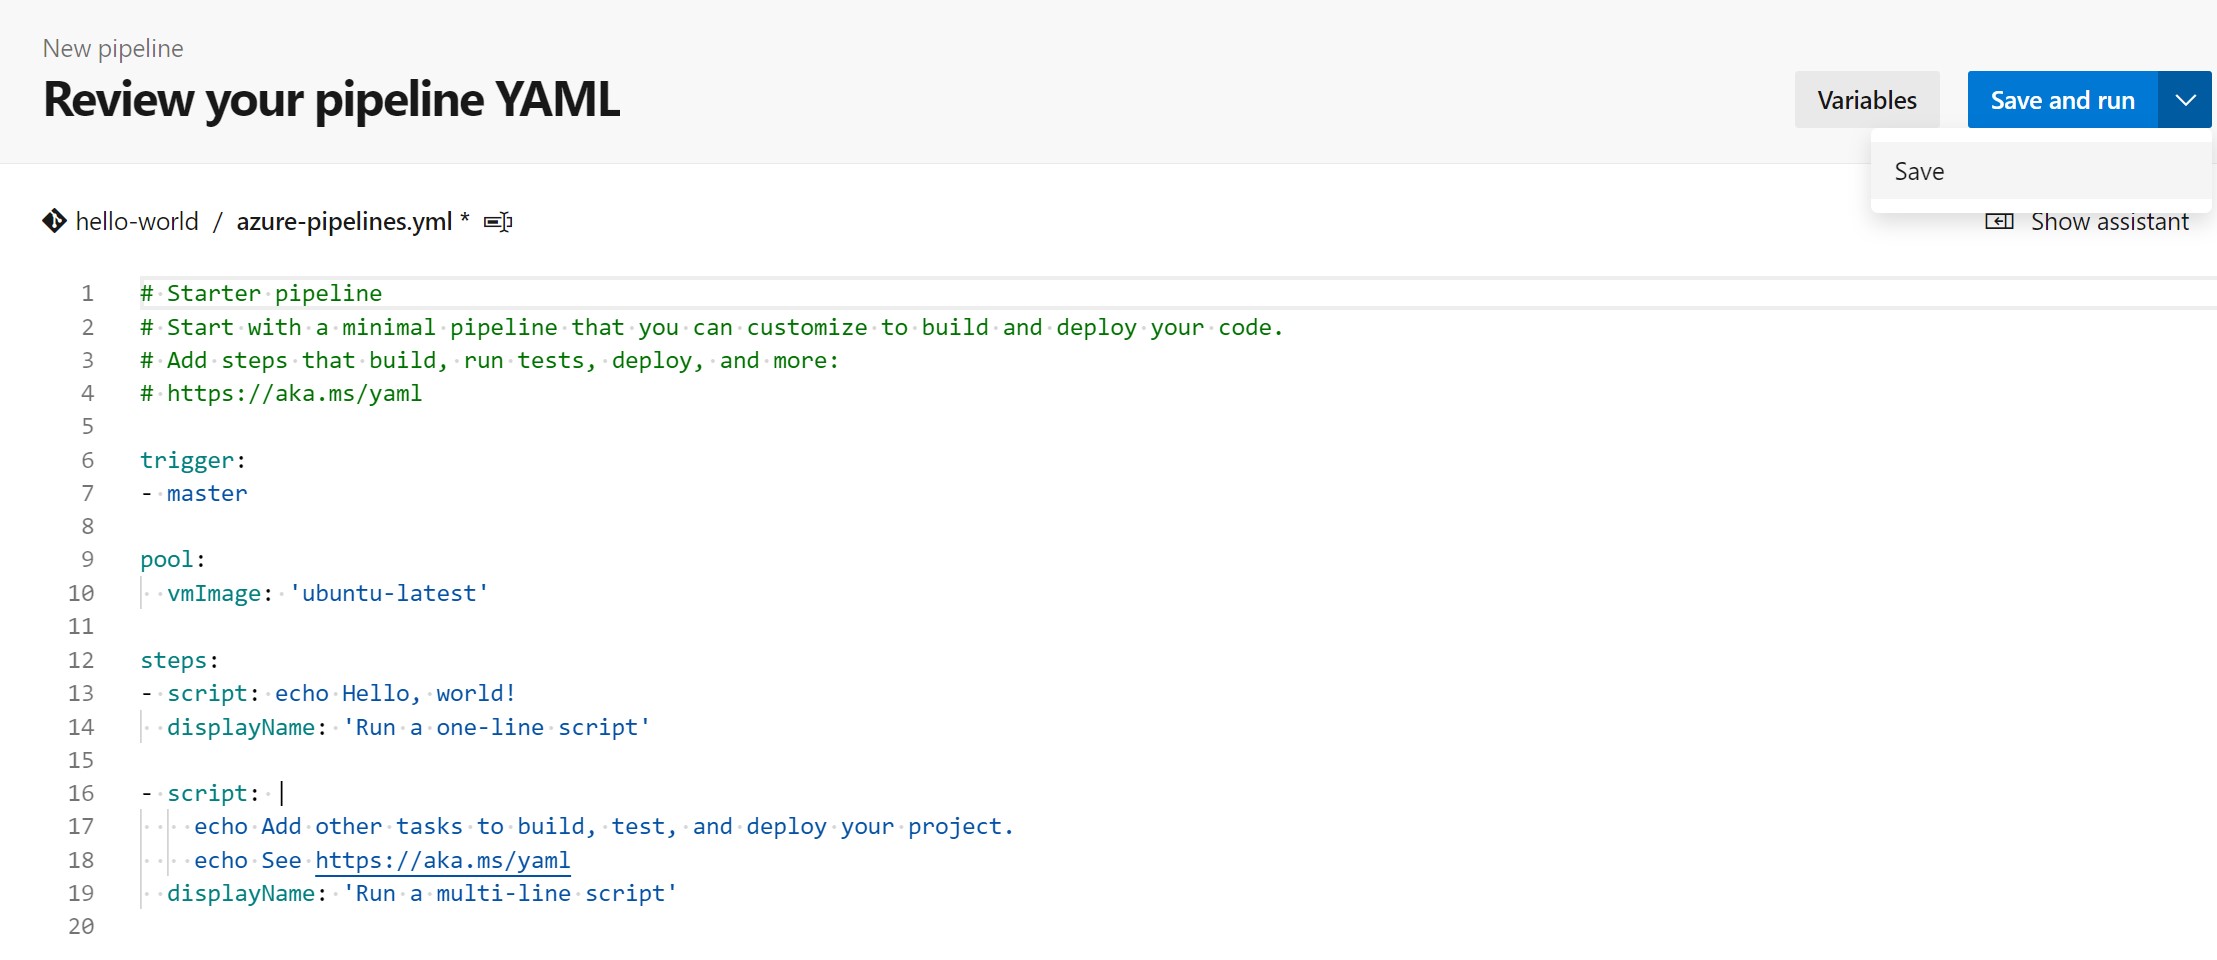
Save the .yaml code of the new pipeline (this will create a new azure-pipelines.yml file in your Repository), but do not run it yet:
-
Click on Edit the new pipeline:

-
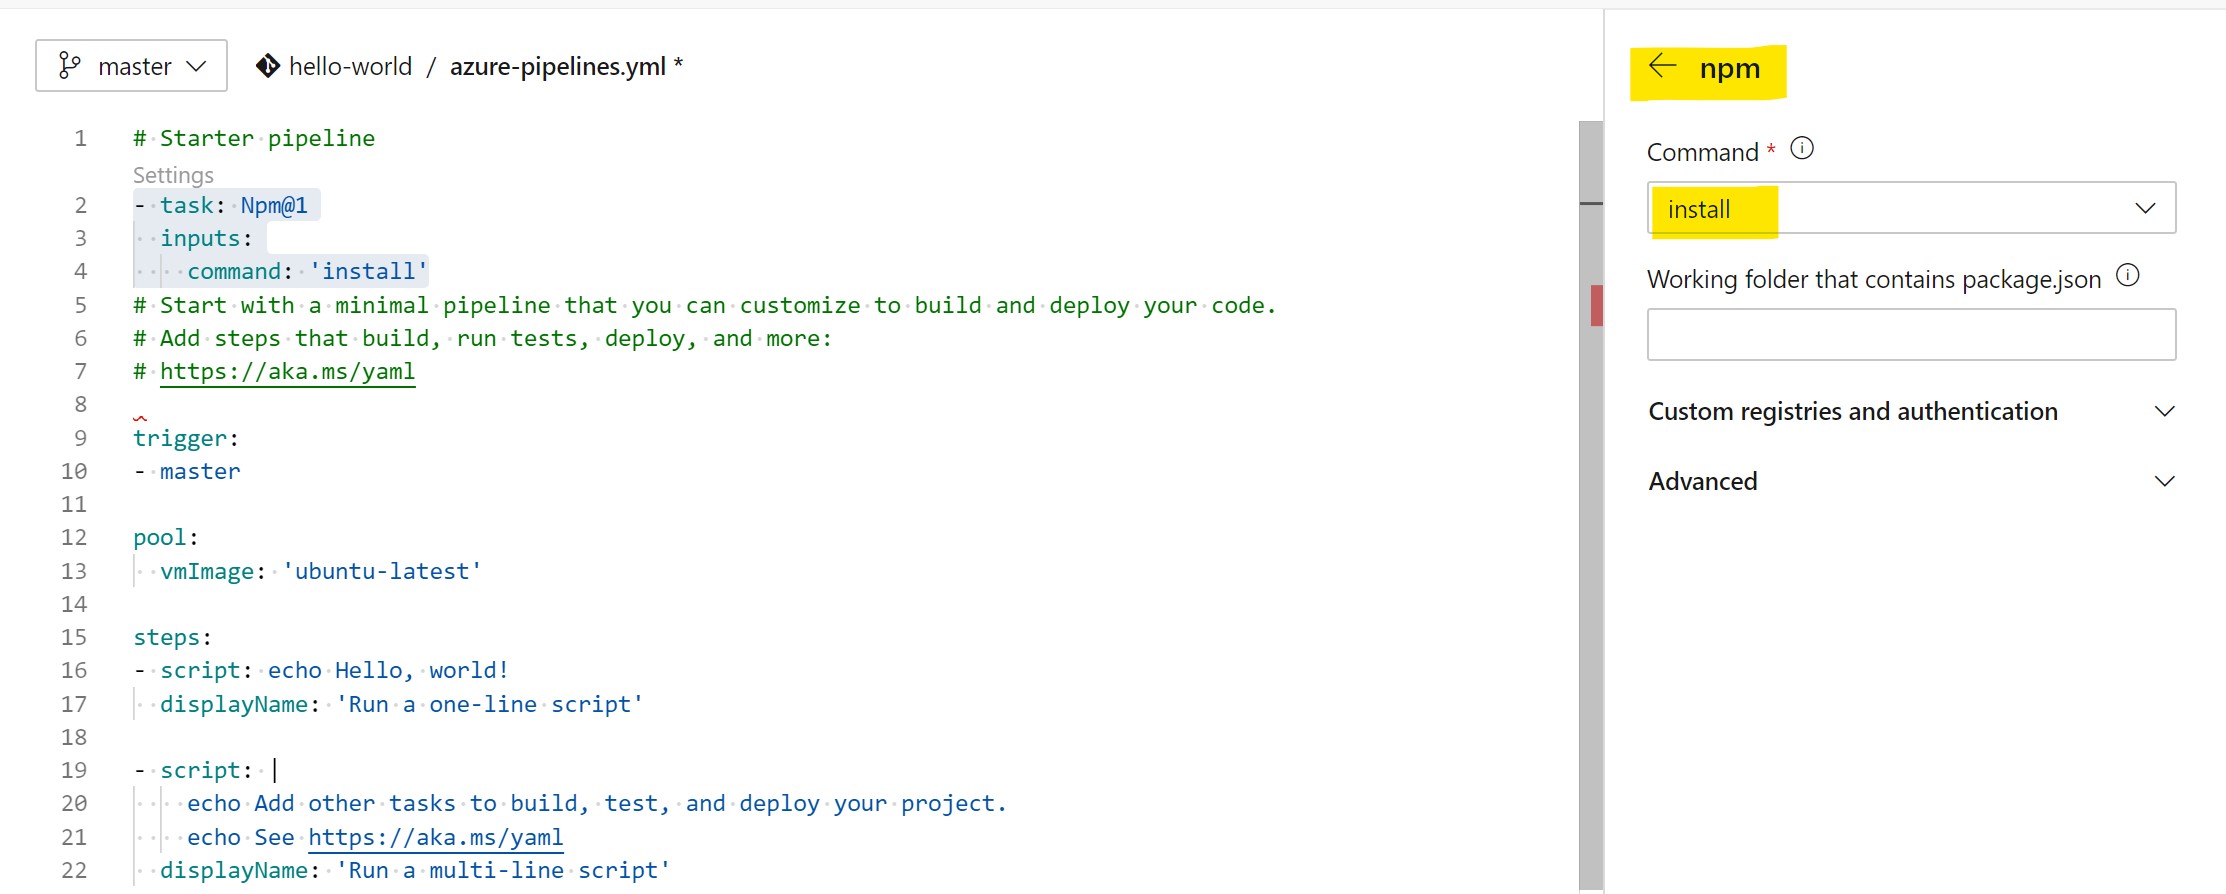
Add a new npm task with the install command:
-
Add one more npm task with the custom command. Here starts our first problem. The added configuration in our .yml file gives an invalid YAML structure error.

-
We will have to repair the configuration manually and also change the vmImage option to windows-latest since the hosting of static website on Azure is only supported for Windows servers.
-
We also add one task for copying the content of the dist folder with our ready-to-release app into the root folder of ArtifactStagingDirectory.
-
Last step is to publish the content of the ArtifactStagingDirectory folder so that we can use these files in the Continuous Delivery step where we create a new Release. This is going to be the Part 2 of this article.
The correct .yml configuration looks like this:
trigger:
- master
pool:
    vmImage: 'windows-latest'
steps:
  - task: Npm@1
    displayName: 'npm install'
    inputs:
      command: 'install'
      workingDir: $(System.DefaultWorkingDirectory)

  - task: Npm@1
    displayName: 'npm run build'
    inputs:
      command: 'custom'
      workingDir: $(System.DefaultWorkingDirectory)
      customCommand: run build

  - task: CopyFiles@2
    inputs:
      SourceFolder: '$(System.DefaultWorkingDirectory)/dist'
      Contents: '**'
      TargetFolder: '$(Build.ArtifactStagingDirectory)'

  - task: PublishBuildArtifacts@1
    inputs:
      PathtoPublish: '$(Build.ArtifactStagingDirectory)'
      ArtifactName: 'drop'
      publishLocation: 'Container'